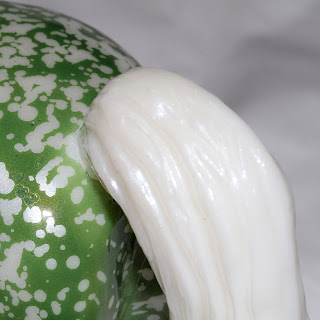
Last year, Breyer released a special run for members of their 'Collector Club' on Christmas Day. It was a gambler's choice style run; if you bought a model you didn't know if you would get red, green, or gold. I got the gold.
I'm never happy just having one from a set, so I've been trying to find the red and green for reasonable prices. Since this poor guy's tail was not attached, he was about as reasonable as I could possibly hope to find.
Fortunately, this was a clean break, so it was a good candidate for acetone repair. Normally I would also drill and insert a pin, but since their was no good place to drill into the body I decided to just do the acetone.
As such, the tools and materials list for this repair was very short. Besides the 100% acetone nail polish remover, the only thing I used was a clean nylon paintbrush. Since this was a cheap, old brush, I trimmed away the bristles that stuck out to the sides:
It's important to note that this repair technique only works for models made from cellulose acetate. This includes Breyer Traditional and Classic models, as well as some of the older Little Bits/Paddock Pals and Stablemate models, and the larger scale Peter Stone horses. It will not work on newer Stablemates, newer Paddock Pals, Copperfox models, resins, or anything else made from anything other than cellulose acetate.
I applied a bit of acetone to both sides of the break. Acetone will dissolve the paint, so I was very careful to make sure I only applied it to the bare plastic.
After applying the acetone, I let it sit for a couple of minutes so the plastic would soften. Enough acetone will completely dissolve the cellulose acetate. If one places a piece of cellulose acetate into a jar of acetone, it will turn into goo (this goo can be quite useful in some types of more extensive repairs, but that's another post.)
Of course, for this repair I only used enough acetone to soften the plastic. After letting the pieces sit for a minute, I added just a little bit more acetone, carefully aligned the pieces, and pressed them together. I held them together for several minutes, letting the pieces weld together and the acetone evaporate, leaving solid plastic behind.
So in about ten minutes, the broken model is whole again. I like buying broken models and restoring them to their original glory. It's a great way for me to get horses that might be out of my price range otherwise. Hopefully in the future I'll be able to do more posts on different types of repairs.
 |
| I know he's supposed to be a Christmas horse, but what better model to have arrived on Saint Patrick's Day? |


No comments:
Post a Comment